You can dig a safe, effective trench without guesswork by planning the route, checking for utilities, and choosing the right dig trench tools for your soil and depth. Follow basic safety steps and match trenching techniques to the job—hand tools for short shallow runs, trenchers for long or compacted sections—to save time and prevent costly mistakes.
This post walks through how to Dig Trenches, prepare the site, identify utilities and slope needs, and pick the proper method and tools so you can tackle drainage, utility, or landscaping trenches with confidence. Expect clear, practical steps and tips that help you avoid common pitfalls and finish the job faster.
Planning and Preparing to Dig Trenches
You will choose a safe, legal spot; size the trench to the pipe, cable, or drainage needs; and assemble tools and safety gear before any soil moves. Focus on utility clearance, soil type, trench depth/width, and having the right equipment on hand.
Selecting the Right Location
Locate underground utilities before digging. Contact your local utility notification service (call 811 in the U.S. or your region’s equivalent) and wait for markings. Walk the site to note overhead lines, access points, slopes, and nearby structures that could affect excavation.
Check soil conditions by probing test holes or reviewing site reports. Look for rock, peat, high groundwater, or mixed soils that change along the run. Avoid areas prone to surface water pooling or those within the influence zone of large trees unless you plan for root management.
Consider access for machinery and spoil placement. Plan entry/exit points for workers and machine paths for a mini-excavator or trencher. Keep spoil at least 2 feet from the trench edge and maintain a clear path for material handling.
Determining Trench Dimensions
Base trench depth on the required cover for the utility you’re installing. For example, typical shallow irrigation lines may need 6–12 inches of cover, while sewer or electrical lines often require 18–36 inches or more depending on local code. Measure precisely and mark depth at intervals.
Set trench width to allow installation and backfill. A common rule: width equals pipe diameter plus working clearance (often 12–24 inches wider than the pipe). For machine-dug trenches, factor in bucket width; for hand-dug, allow room to maneuver tools safely.
Account for bedding and slope. Add 2–6 inches of sand or gravel bedding beneath pipes, and design grade for drainage. Where frost, heavy loads, or utilities with specific cover requirements apply, follow local standards and manufacturer instructions.
Gathering Required Tools and Equipment
Assemble personal protective equipment first: hard hat, safety glasses, high-visibility vest, gloves, steel-toe boots, and hearing protection if using machines. Bring shoring or trench boxes when depth or soil instability demands them.
Collect excavation tools: trenching shovel, pick mattock, pry bar, and tamper for hand work. For mechanized work, arrange a trencher or mini-excavator with appropriate bucket sizes, and have a wheelbarrow or dump system for spoil.
Include installation materials and measuring tools. Carry pipe bedding material, pipe supports, backfill compaction tools, tape measure, level, string line, and spray paint for layout. Keep an emergency kit, communication device, and a water source onsite.
Digging Techniques and Best Practices
Choose the right method, control soil and water, and follow safety steps to prevent utility strikes, collapses, and delays.
Manual Versus Mechanical Digging Methods
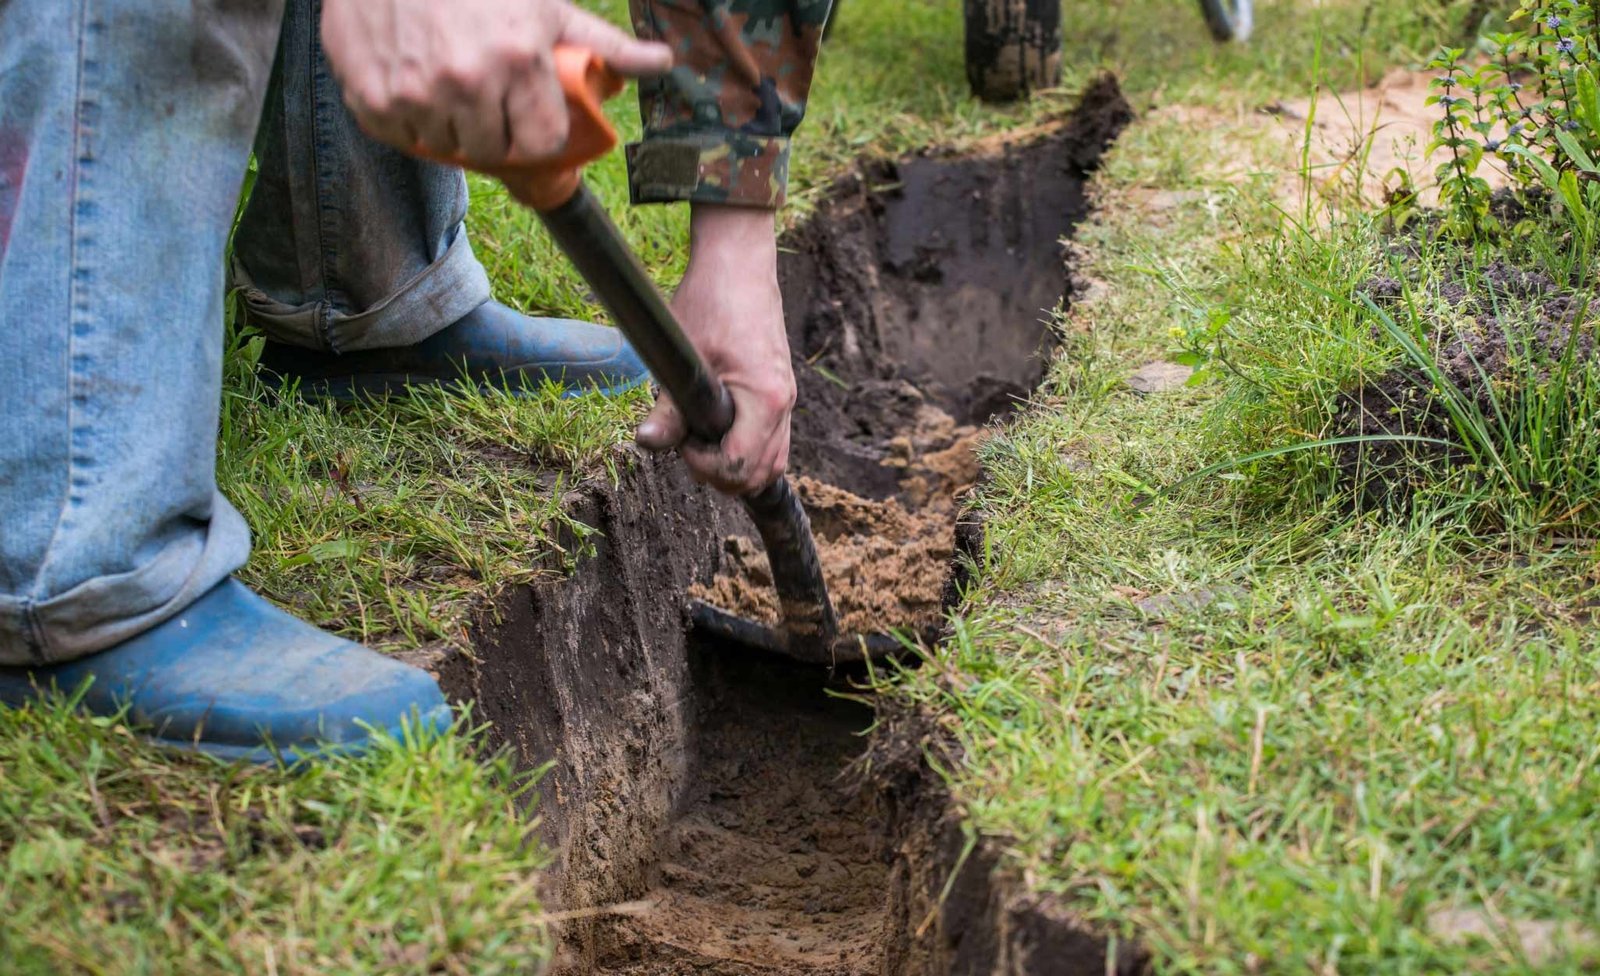
Hand digging works well for shallow trenches under 2 feet, narrow utility runs, and areas with limited access. Use a trenching shovel, spade, and pick for precision; dig in 12–18 inch sections and remove spoil at least 2 feet from the trench edge to keep the work area clear.
Reserve powered trenchers or an excavator when trench depth exceeds 2–3 feet, when you need consistent width, or when speed matters. Match equipment size to trench width and site constraints to avoid over-excavation and damage to nearby structures.
Plan for utility location and ground conditions before choosing a method. For rock, compacted clay, or frozen ground, mechanical equipment saves time and reduces physical strain. For installing pipes or cable, maintain a uniform grade and benching as required for bedding material.
Ensuring Safety While Digging
Call your local utility locating service (811 in the U.S.) several days before digging and verify all marked lines by hand exposing them where necessary. Always wear PPE: hard hat, high-visibility vest, steel-toe boots, gloves, and eye protection.
Keep excavated spoil and equipment at least 2 feet back from trench edges to reduce collapse risk. For trenches deeper than 5 feet, use shoring, shielding, or sloping per OSHA guidelines; never enter an unsupported trench.
Establish an emergency plan and ensure a competent person inspects trenches daily and after any rainfall or vibration event. Use ladders or ramps for every 25 feet of trench length to provide safe egress.
Managing Soil and Water Drainage
Identify soil type—sand, silt, clay, or peat—before you dig; cohesion and angle of repose determine whether you need shoring or slopes. For sandy or granular soils, use steeper shoring or tighter shielding; for cohesive clays you can slope at shallower angles but still monitor for changes.
Control water by diverting surface runoff with berms or temporary channels and install a sump pump if groundwater seeps into the trench. Keep bedding material dry and granular; place geotextile fabric or gravel under pipes to prevent settling.
Stabilize trench walls quickly after excavation and limit exposure time for open trenches. Backfill in layers and compact to the specified density to restore load-bearing capacity and prevent future subsidence.